


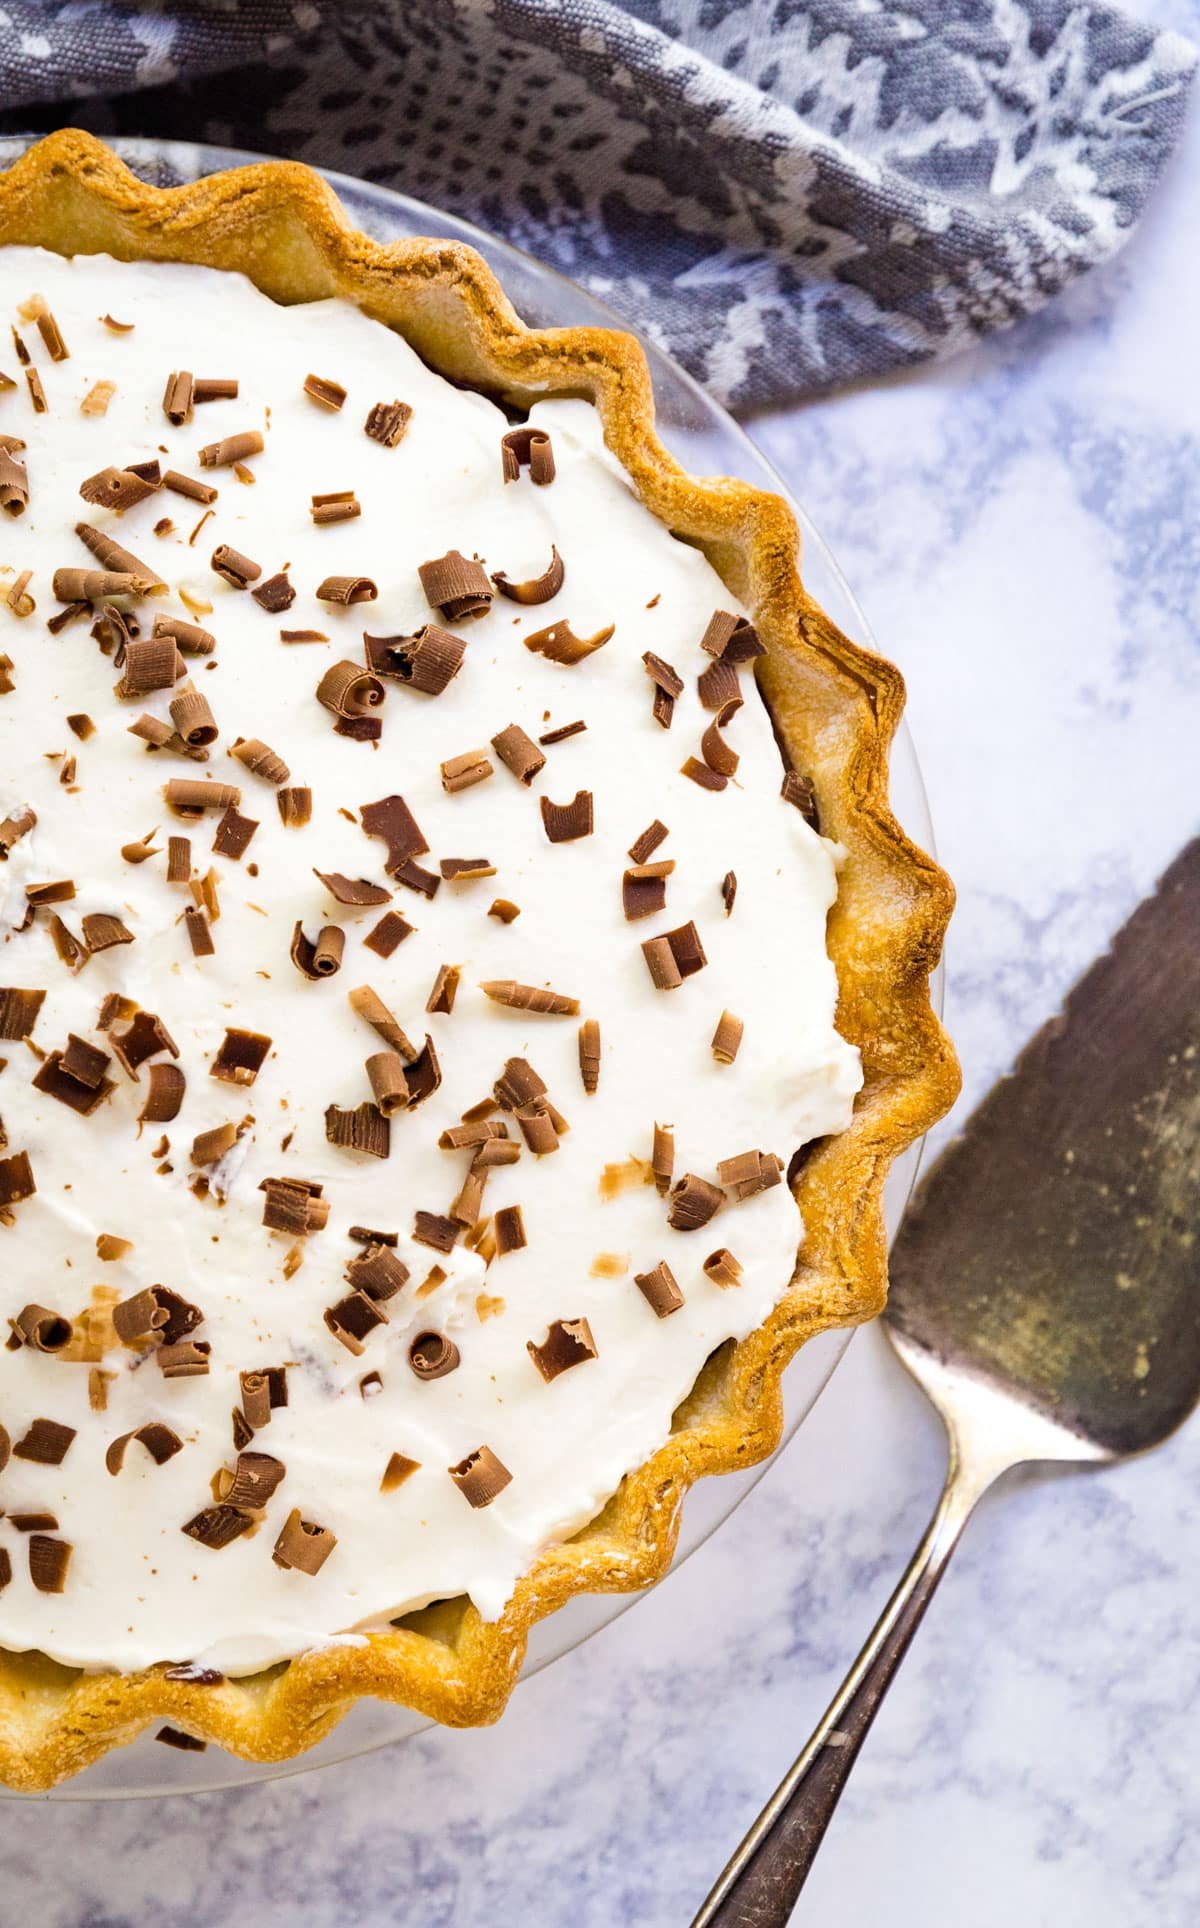
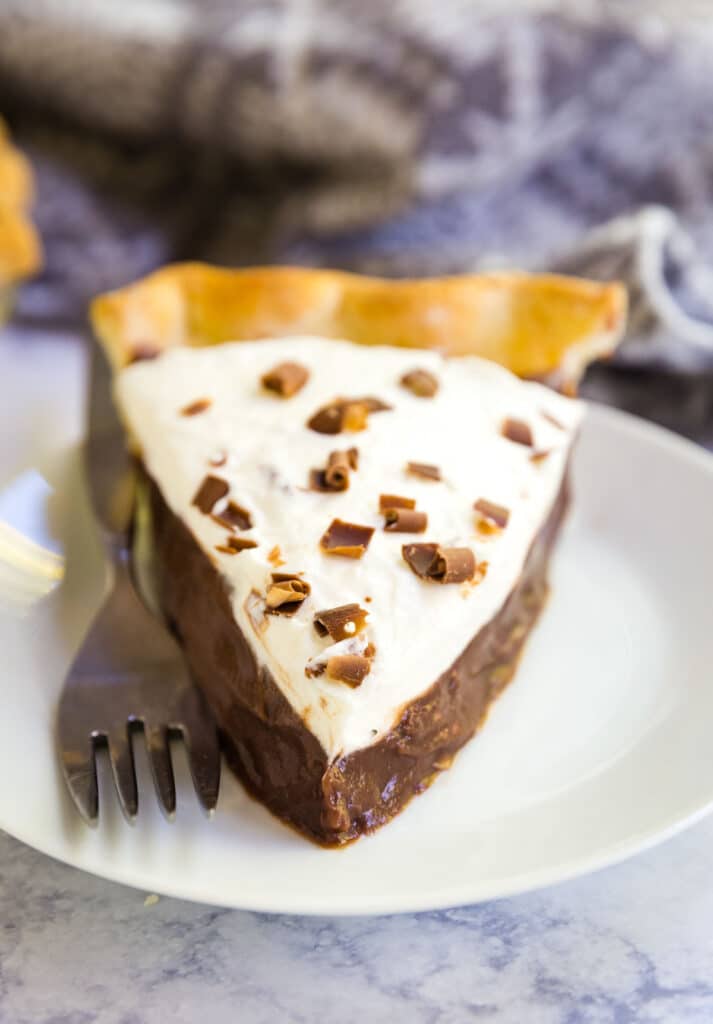
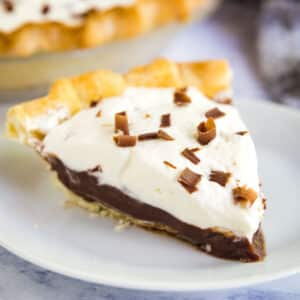
My family makes this easy Old Fashioned Chocolate Pie over and over again. It's effortless to put together and we always fight for seconds! If you want a rich, creamy, and chocolatey with a wonderfully crispy and buttery crust you'll love this- it's perfect for every occasion!

Jump to:
Why You'll Love Chocolate Pudding Jello Pie
I think that everyone needs to have a good, easy recipe for a chocolate pie up their sleeve. Now, chocolate pie means different things to different people. For some, it can be a super labor-intensive homemade chess pie made with all the love in the world. For others, it's a chocolate mousse pie that you find already prepared in the freezer section, thawed with love. By the way, no judgment — those are both so good! I've been known to pick up the latter in a pinch!
But in our family, in the most basic of terms, it's a chocolate pudding pie with jello pudding. You know I'm all about working smarter and not harder. For us, this also means a pre-made pie crust. Pudding that starts in a box. Whipped cream. And if you're feeling extra fancy, you can even shave some chocolate shavings on top.
And I'll tell you right now, it's not the most gorgeous, artisan pie you'll ever make. But it's easy-peasy, consistently delicious, and I guarantee everyone will be fighting for that last slice every time! And if that's not enough reason to try it, here are a few more:
- An almost no-bake recipe
- Made with only 6 ingredients
- Perfect for parties
- Kid-friendly and approved
- Quite possibly one of the easiest desserts to make!
Ingredient Information And Substitutions
- Chocolate Pudding Mix - I typically use Jello pudding mix, but feel free to use your favorite or whatever you have on hand. The most important thing to note here is to make sure it is NOT instant pudding! You want to make sure you're getting the regular size cook-and-serve Jello puddings.
- Milk - Needed to turn the pudding mix into, well, pudding. I like whole milk , but use what you have on hand. My recipe uses a bit less milk than the recipe on the box, to end up with a slightly thicker pudding that works better for a pie.
- Pie Crust - To make this Jello pudding pie even easier, I use a store-bought pie crust. Make sure that it's baked before you get started. But if you prefer chocolate pie with graham cracker crust then you can also make your own or buy a pre-made graham cracker crust for a truly no-bake chocolate pie.
- Heavy Cream - For the homemade whipped cream. Heavy cream is key here! you can also totally make your chocolate pie with cool whip for equally delicious results.
- Vanilla Extract - Try to find real, pure vanilla extract. Also for the whipped cream, it really does make a difference in terms of flavor.
- Powdered Sugar - The final ingredient for your homemade whipped cream. Powdered sugar pretty much guarantees smooth results.

How to Make Chocolate Satin Pie
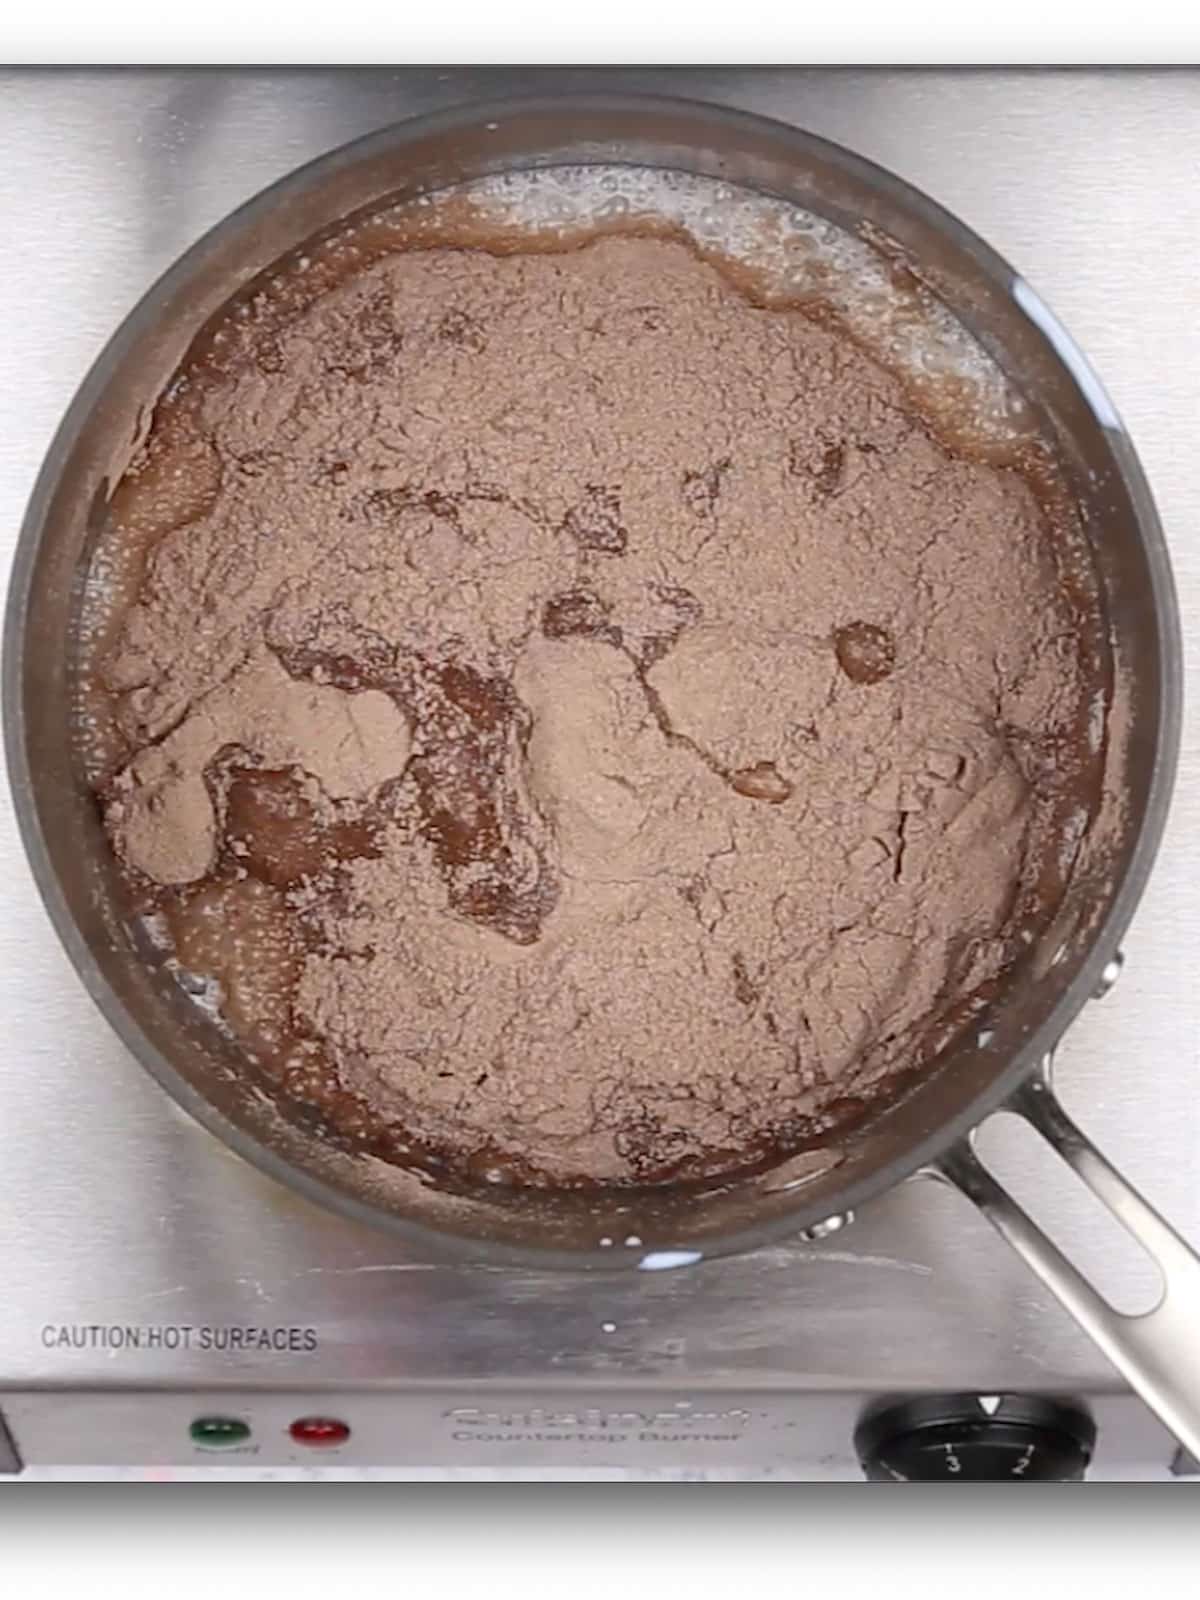
Step 1: Bake your pie crust per the package directions and cool completely. Add the pudding mixes and milk to a medium-sized saucepan and simmer over medium heat until thickened.
Step 2: Remove the saucepan from heat, then place the pudding mixture in a different container. Cover and cool in the fridge until you're ready to make the your pie — it will keep for up to 2 days, making this a great make-ahead recipe!
When ready to assemble, add the pudding to the baked pie crust, then pop in the fridge.

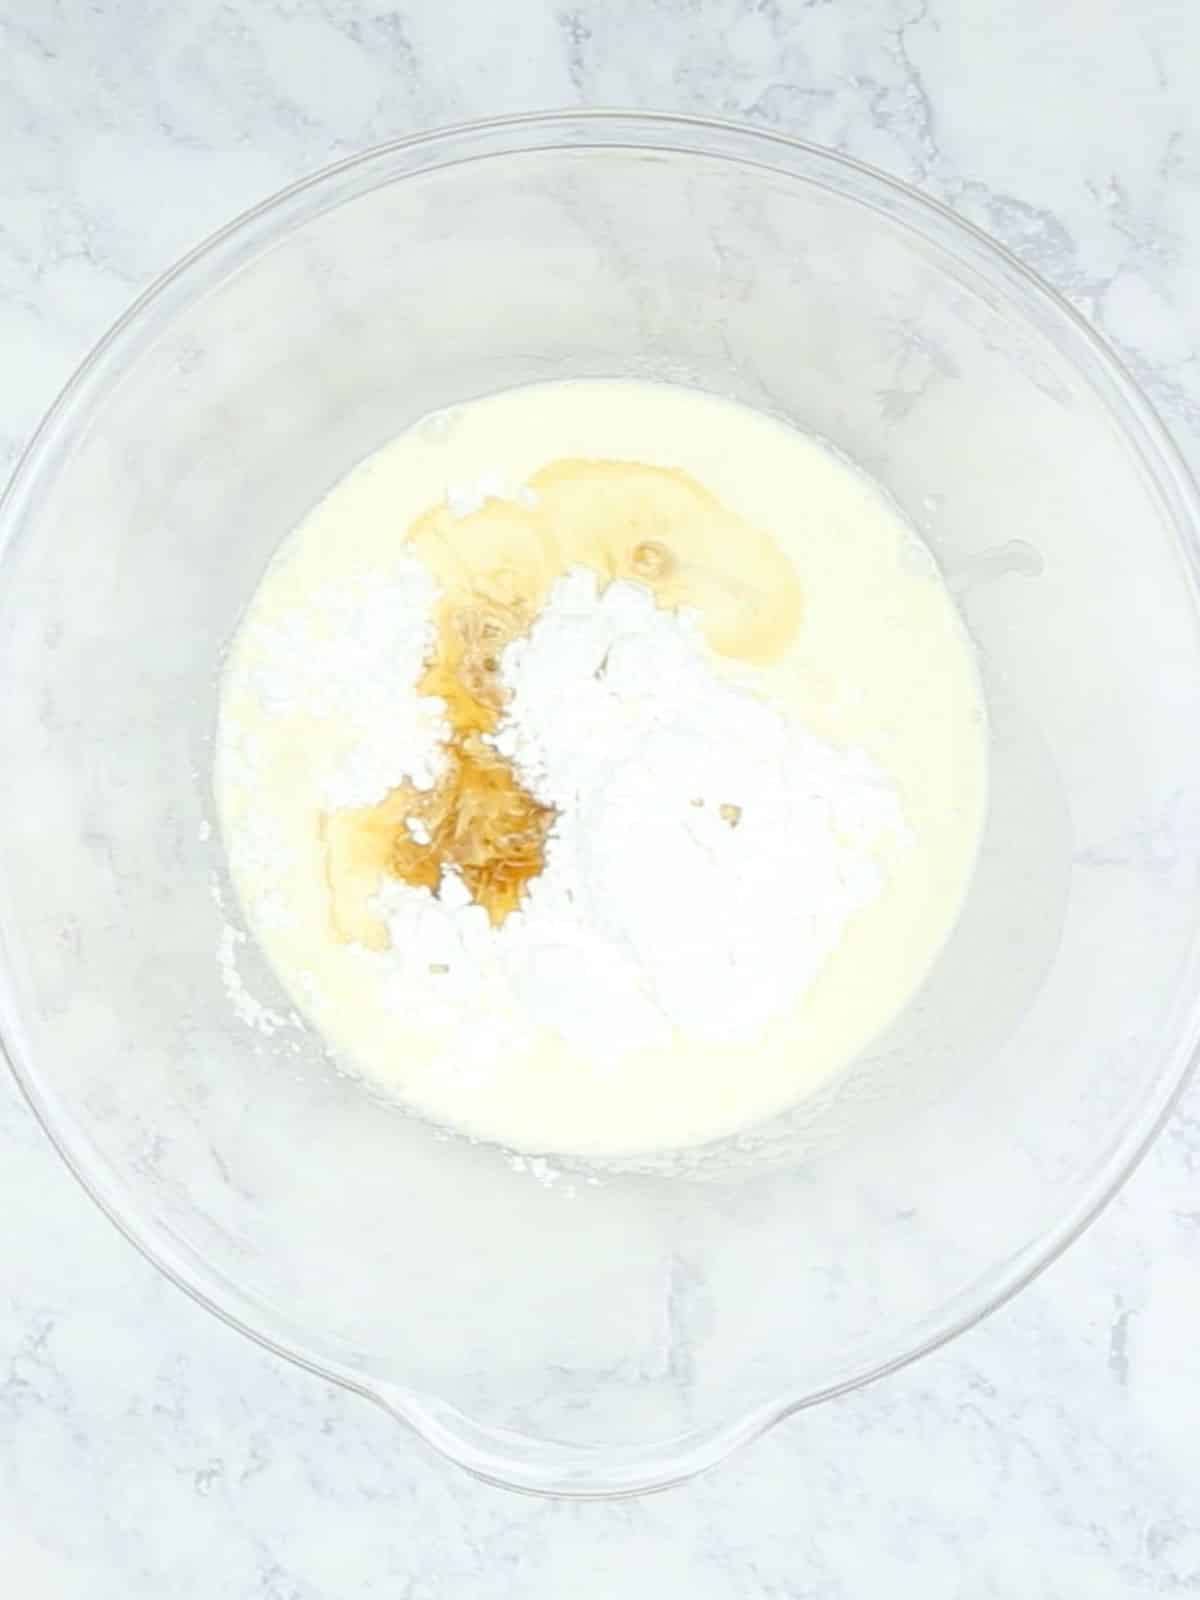
Step 3: While the chocolate layer sets, make the whipped cream. Add the heavy cream, vanilla, and powdered sugar to a large bowl and whip just until until stiff peaks form.
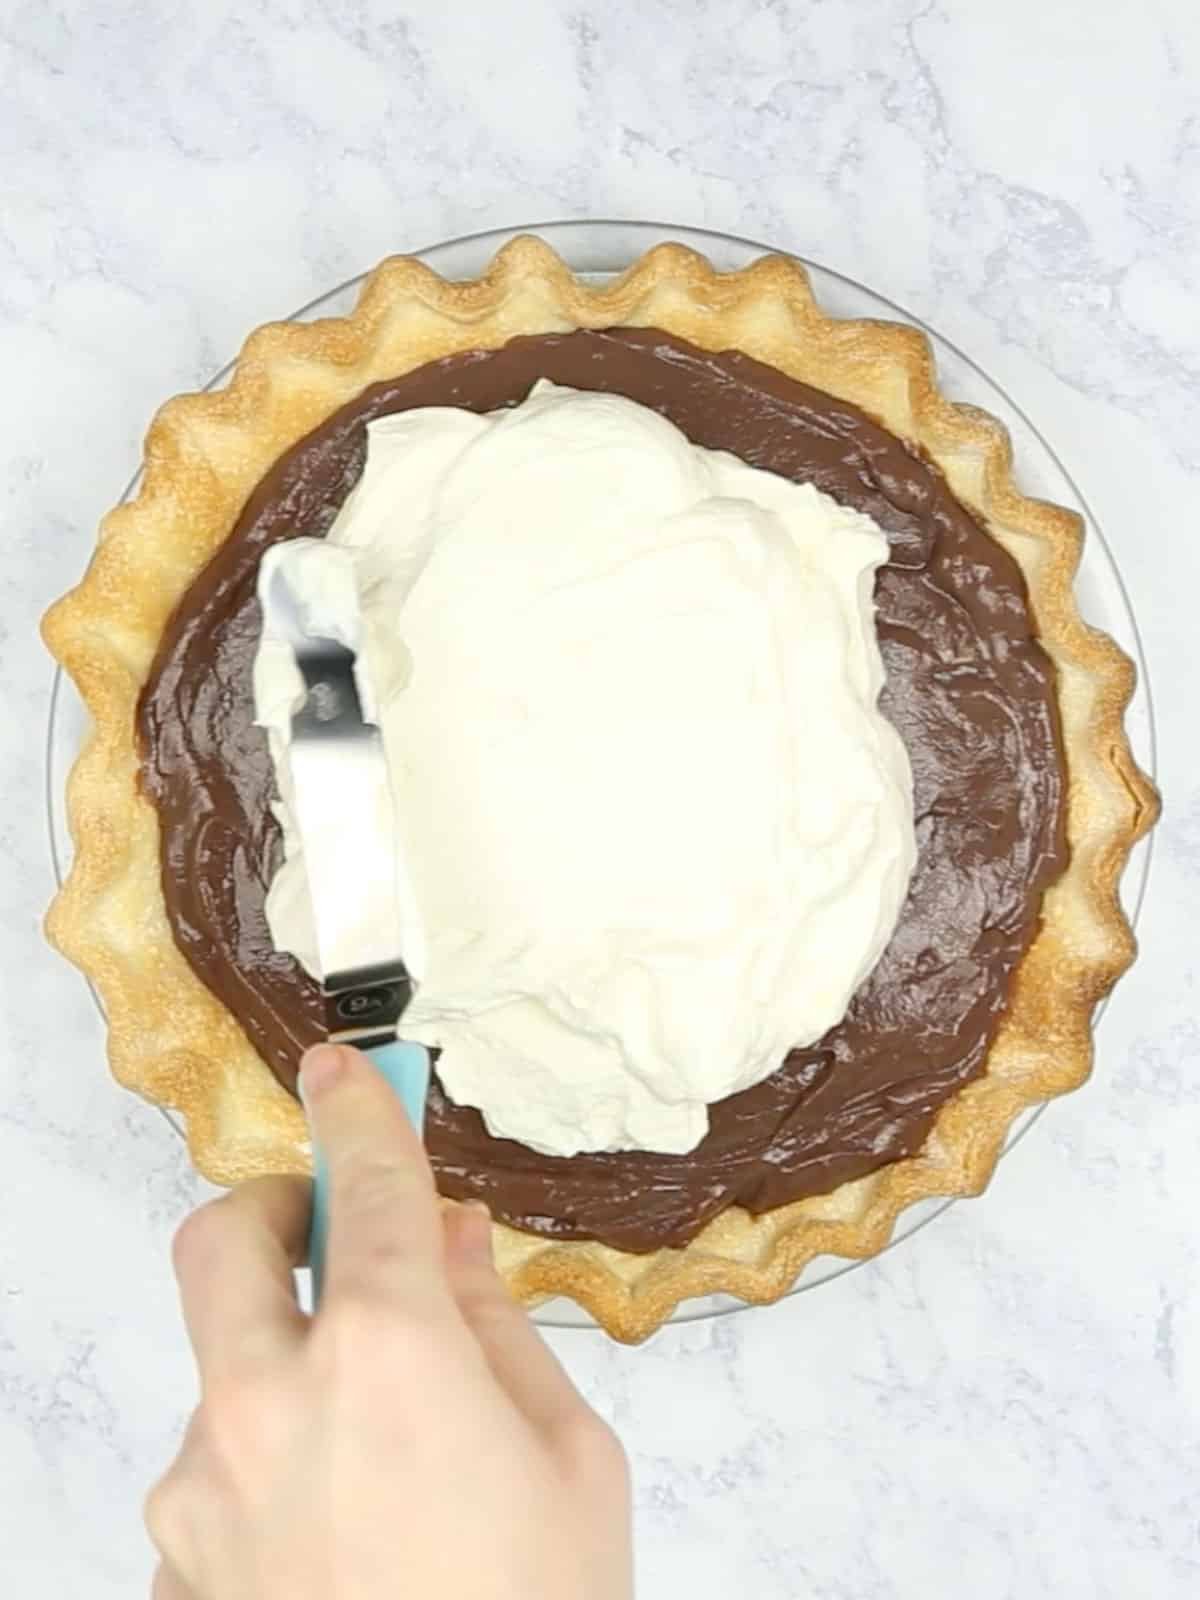
Step 4: Spread on top of the chocolate layer and if you want, add some chocolate shavings on top for an even more impressive presentation. Serve and enjoy!
Frequently Asked Questions
Absolutely! You can definitely make every component of this recipe ahead, though I'd encourage you to wait until the day-of to put it all together. As a note, you may need to give the whipped cream an extra whip or two before adding it to the pudding layer, if making ahead.
You sure can — and I bet it would be delicious! That said, I recommend buying a pre-made Oreo crust so you have less work!
Yes, you need to refrigerate this until you're ready to serve. It also tastes the best when chilled, in my opinion!
This dessert will keep for 2-3 days, covered in the fridge. Although, I have to say, it is always the most popular dessert at whatever party I bring it to. I doubt you'll have leftovers!
Tips For Making This Chocolate Pie Recipe
- Don't use instant pudding. I know it's tempting to grab the instant stuff. But trust me, the cook-and-serve variety always comes out superior.
- When you cover the pudding before cooling, use plastic wrap and push it down so that it touches the entire top of the pudding — this should help avoid that gross "skin" that pudding can sometimes develop.
- I cut down the amount of milk from what it says on the pudding mix box to try and make it a little thicker. I mean, this is a chocolate pudding pie, so it's not going to get a perfect, gorgeous cut no matter how you slice it (see what I did there?). But it's so darn delicious that no one ever cares and a slightly thicker pudding texture definitely helps.
- I generally wait until the day of serving to put the pudding into the pie crust to make sure it doesn't get soggy.
- You can totally use whipped topping if you want, freshly whipped is preferable, but store bought is fine, like Ina says!
- The chocolate shavings are totally optional but are always a fun addition. For this particular chocolate cream pie, I used "fun size" chocolate bars from my kids' Halloween candy. No regrets.
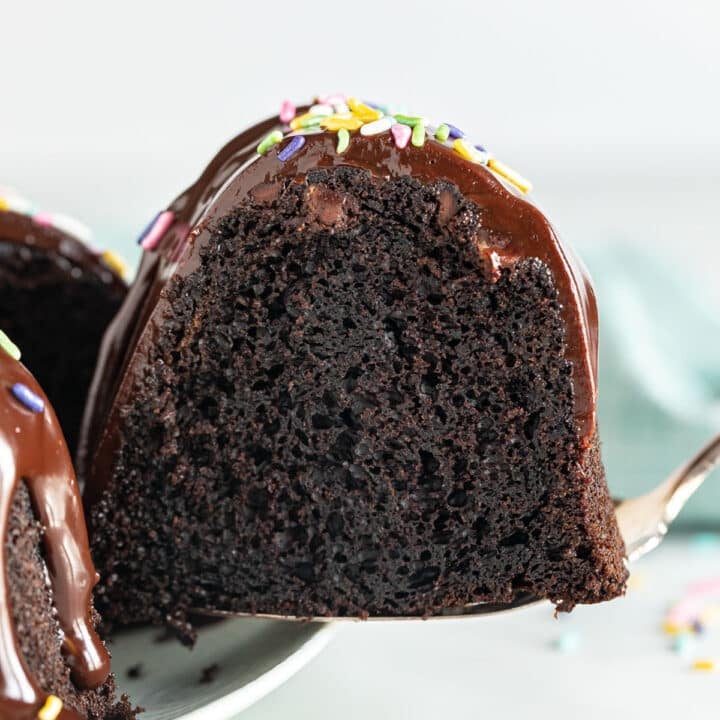
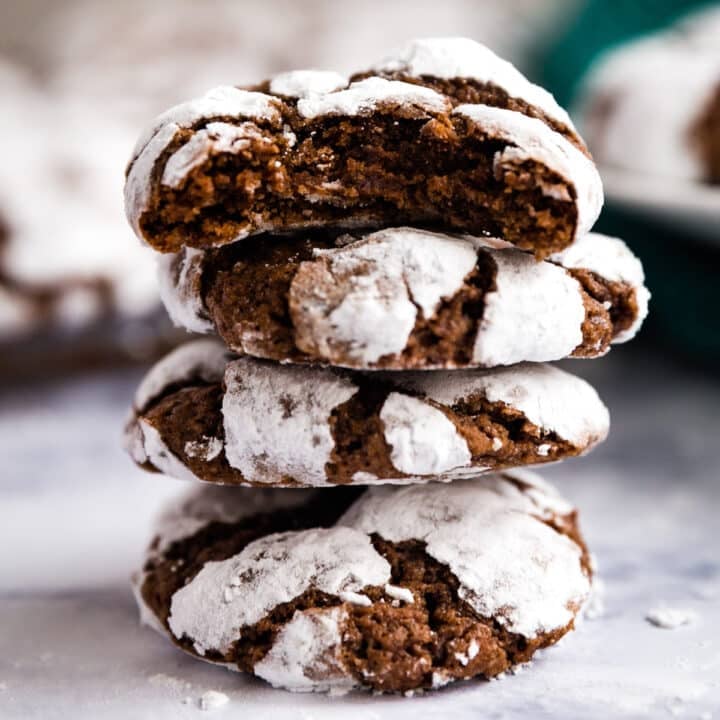
Other Chocolate Desserts to Try...


Hosting Thanksgiving?
Discover the secret to hosting Thanksgiving without all the stress! Prepsgiving is your FREE guide to making a delicious Thanksgiving feast the easy way.
Love this recipe? Please leave a 5 star ⭐️⭐️⭐️⭐️⭐️ rating in the recipe card below ⬇️ and/or a review in the comment section further down. Check out my Amazon Store for all my favorite tools, including those used in this recipe. And follow @thelifejolie on Instagram and TikTok!
Old Fashioned Chocolate Pie
Equipment
Ingredients
- 2 3.4 ounce cook and serve chocolate pudding mixes (not instant!)
- 1 ½ cups whole milk
- 1 pie crust, baked
- ½ pint heavy cream
- ½ teaspoon real vanilla extract
- ¼ cup confectioner's sugar
Instructions
- Combine pudding mixes and milk in a medium saucepan and simmer over medium heat until thickened.
- Remove from heat and transfer to a different container and chill in the refrigerator.
- On the day you're planning to serve this, place the pudding into the pie crust and smooth the top. Refrigerate.
- In a large mixing bowl, whip the heavy cream, vanilla extract and confectioner's sugar until it makes stiff peaks.
- Spread the whipped cream on top of the pie and if you're feeling extra fancy, shave some chocolate on top. Serve immediately or refrigerate until serving.
Video
Notes
- Don't use instant pudding. I know it's tempting to grab the instant stuff. But trust me, the cook-and-serve variety always comes out superior.
- When you cover the pudding before cooling, use plastic wrap and push it down so that it touches the entire top of the pudding — this should help avoid that gross "skin" that pudding can sometimes develop.
- I cut down the amount of milk from what it says on the pudding mix box to try and make it a little thicker. I mean, this is a chocolate pudding pie, so it's not going to get a perfect, gorgeous cut no matter how you slice it (see what I did there?). But it's so darn delicious that no one ever cares and a slightly thicker pudding texture definitely helps.
- I generally wait until the day of serving to put the pudding into the pie crust to make sure it doesn't get soggy.
- You can totally use whipped topping if you want, freshly whipped is preferable, but store bought is fine, like Ina says!
- The chocolate shavings are totally optional but are always a fun addition. For this particular chocolate cream pie, I used "fun size" chocolate bars from my kids' Halloween candy. No regrets.
Lori L says
Elizabeth says
Jessy Freimann says
Phil Pierce says